
Lego computer
I bought legos and computer parts and put them together with hot glue. It runs on 60W of power.
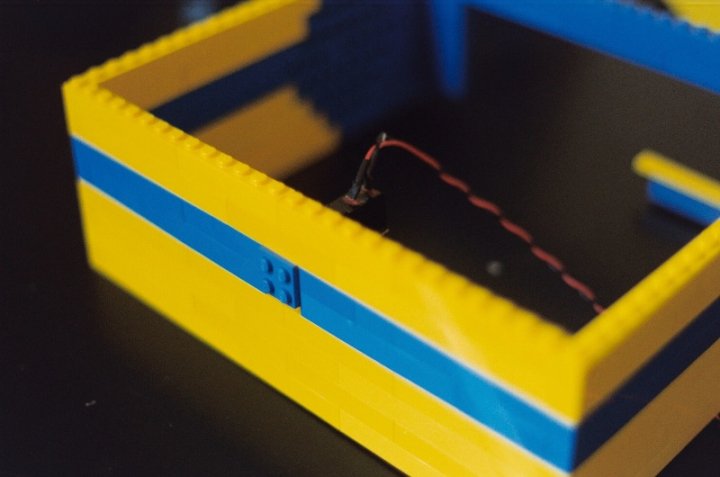
I started with the love for legos, small computers, and design. I used LEOcad to make the intial design and bought all the bricks through bricklink.com, which is a network of lego-selling hobbyists. I kept to my design strictly, but bought used parts from my local FreeGeek when I could. It cost a little more than 300 dollars.
> back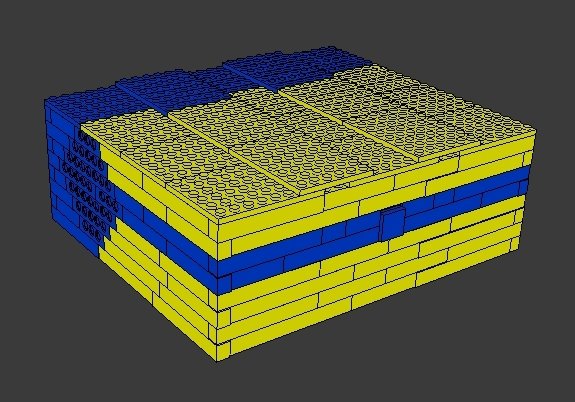
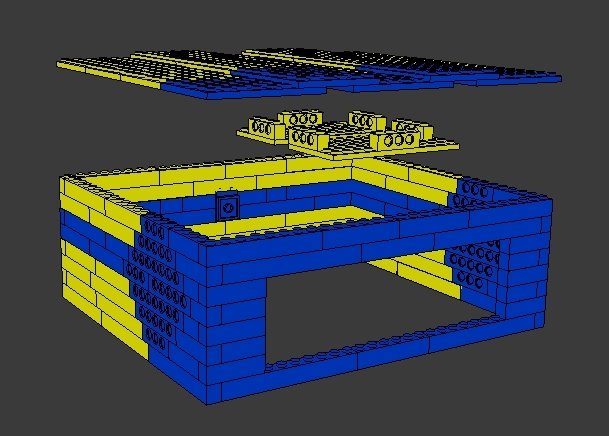
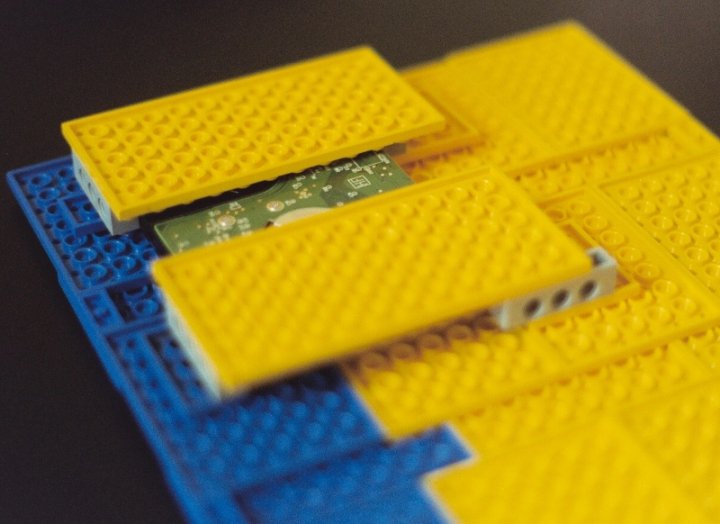
^ Exploded view of the back. That middle piece is for the 2.5" hard drive.

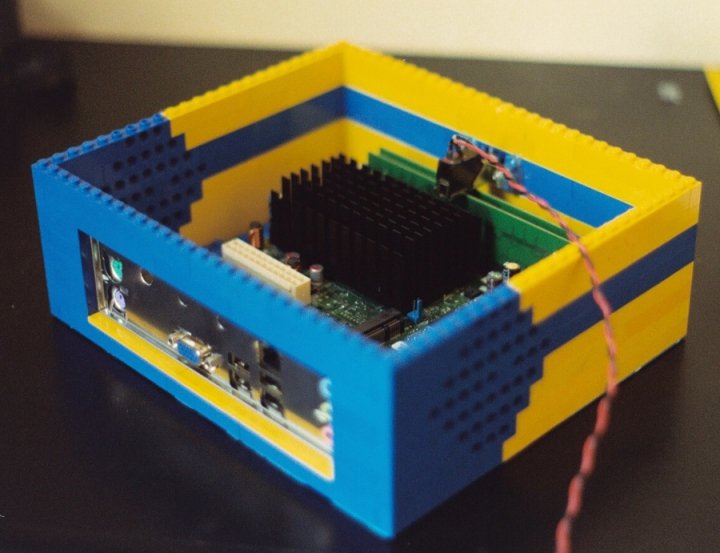
^ The power button is too big/low (touching the RAM) so the motherboard at the front of the case is very slightly tipped down. This didn't affect the back panel enough for me to care.
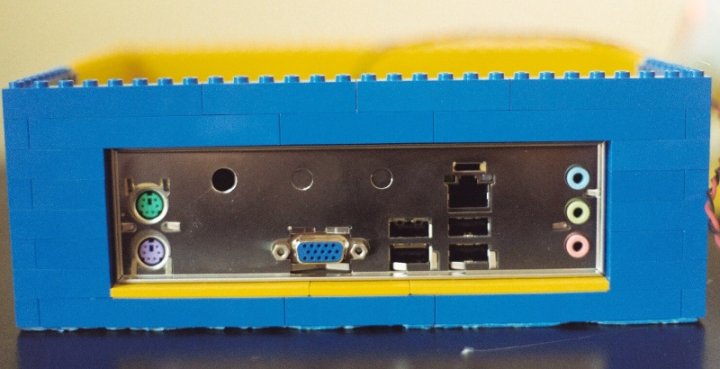
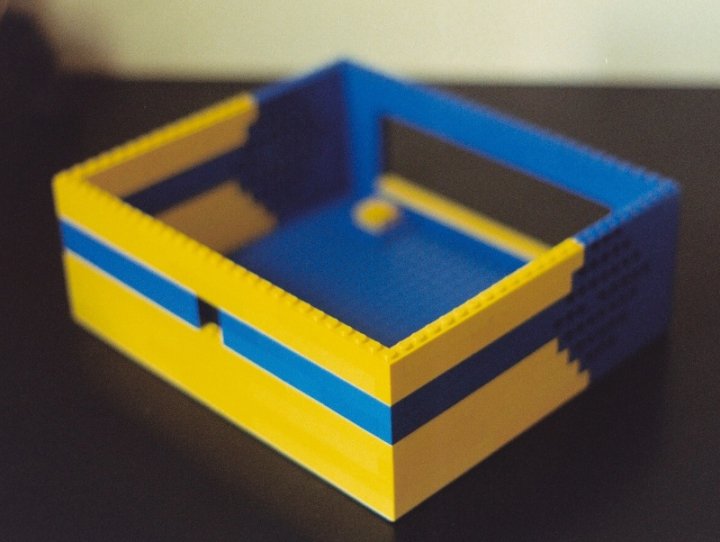
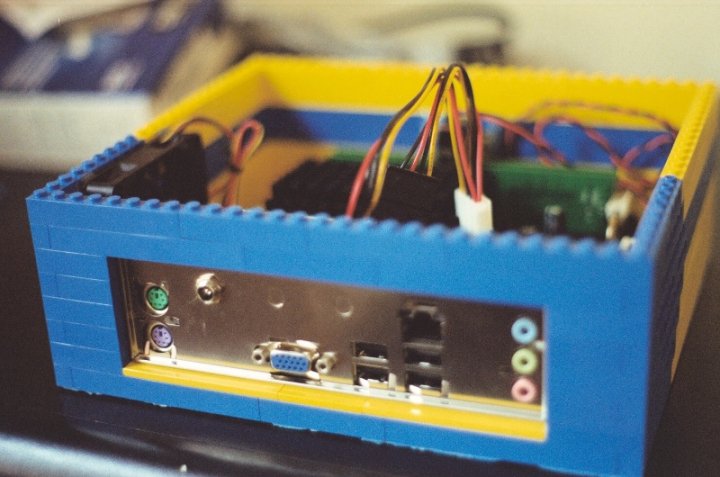
^ That hole toward the left is for the DC power plug, like a laptop has.
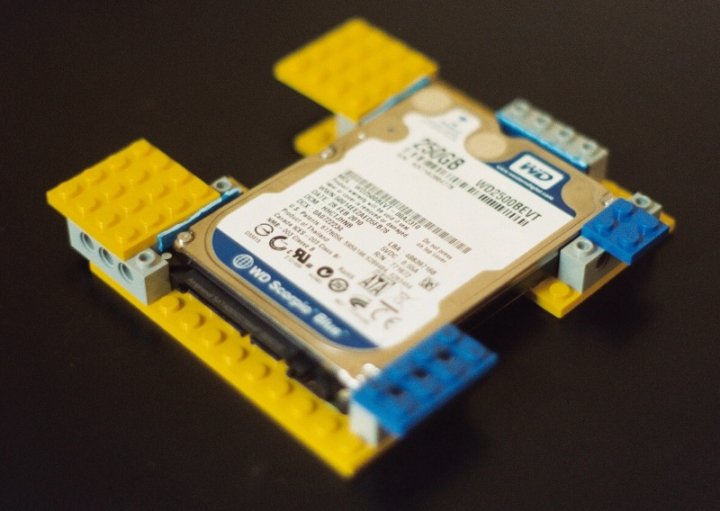
^ Hard drive mount. This goes on the underside of the top. Notice the little shims made of a blue baseplate.
^ HDD mounted
^ Fan (left) and power supply (upper left of the back panel) mounted. The power supply is TINY. It uses a laptop type cable with the converter box in the middle of the cable as opposed to inside the computer.
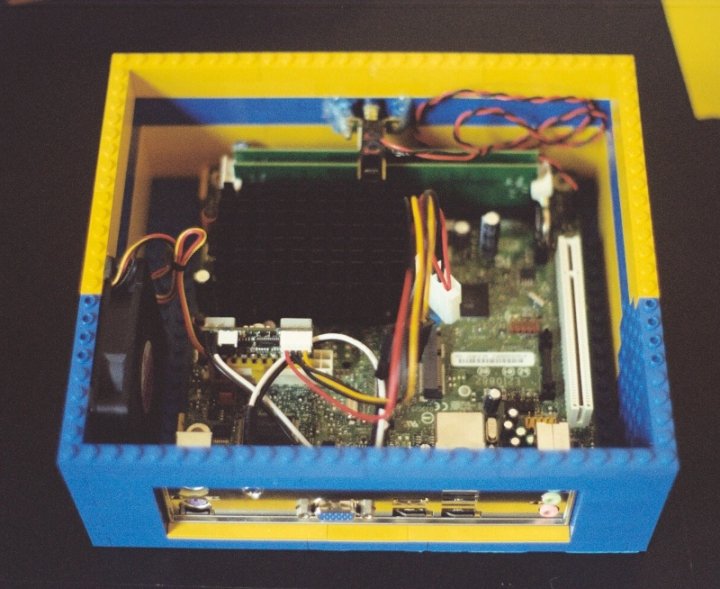
Everything that needs to be held in place is hot glued--really just the motherboard, button, and fan.
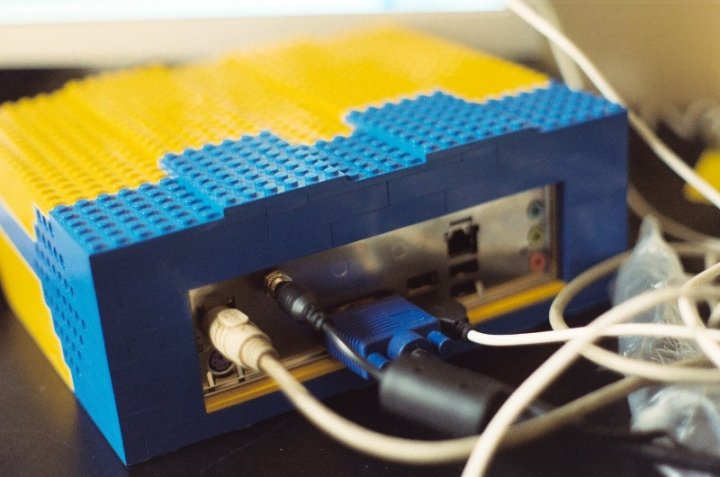
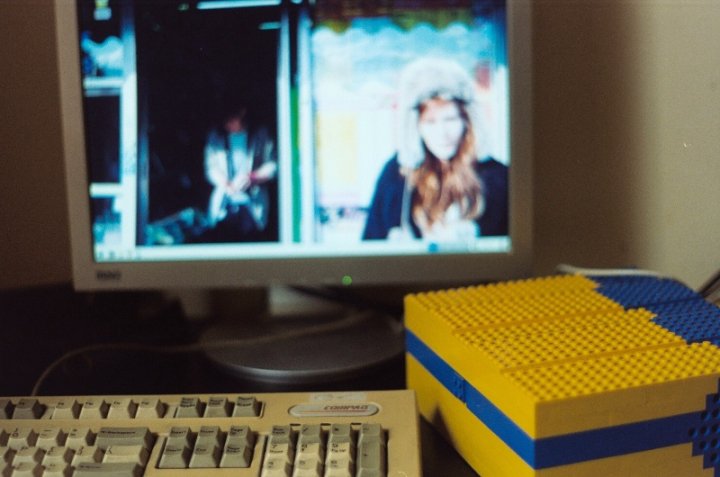
^ Running Slackware linux. Huzzah!